Hey! Let’s Write a WebExtension!
(This article is also posted on Mozilla Hacks.)
You might have heard about Mozilla’s WebExtensions, our implementation of a new browser extension API for writing multiprocess-compatible add-ons. Maybe you’ve been wondering what it was about, and how you could use it. Well, I’m here to help! I think MDN’s WebExtensions Docs have a pretty great definition:
WebExtensions are a new way to write Firefox extensions.
The technology is developed for cross-browser compatibility: to a large extent the API is compatible with the extension API supported by Google Chrome and Opera. Extensions written for these browsers will in most cases run in Firefox with just a few changes. The API is also fully compatible with multiprocess Firefox.
The only thing I would add is that while Mozilla is implementing most of the API that Chrome and Opera support, we’re not restricting ourselves to only that API. Where it makes sense, we will be adding new functionality and talking with other browser makers about implementing it as well. Finally, since the WebExtension API is still under development, it’s probably best if you use Firefox Nightly for this tutorial, so that you get the most up-to-date, standards-compliant behaviour. But keep in mind, this is still experimental technology — things might break!
Starting off
Okay, let’s start with a reasonably simple add-on. We’ll add a button, and when you click it, it will open up one of my favourite sites in a new tab.
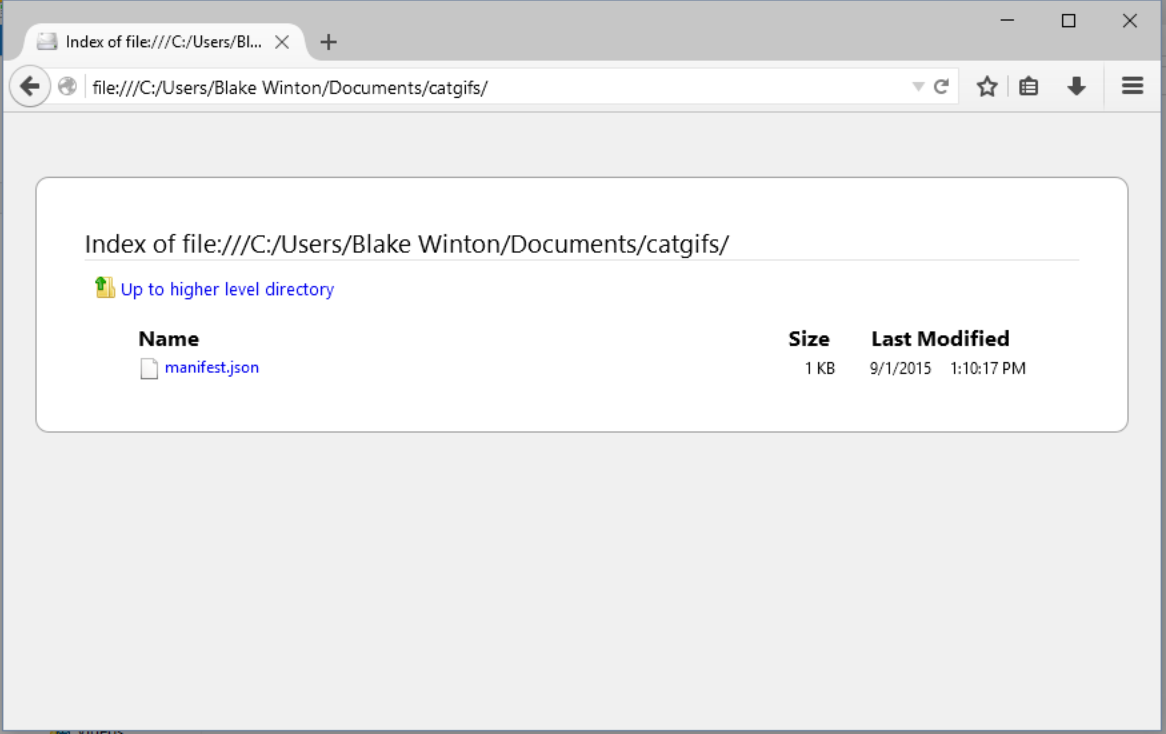
The first file we’ll need is a manifest.json, to tell Firefox
about our add-on.
{
  "manifest_version": 2,
  "name": "Cat Gifs!",
  "version": "1.0",
  "applications": {
    "gecko": {
      "id": "catgifs@mozilla.org"
    }
  },

  "browser_action": {
    "default_title": "Cat Gifs!"
  }
}
Great! We’re done! Hopefully your code looks a little like this.
Of course, we have no idea if it works yet, so let’s install it in Firefox
(we’re using Firefox Nightly for the latest implementation). You could try to
drag the manifest.json, or the whole directory, onto Firefox, but that really
won’t give you what you want.
Installing
To make Firefox recognize your extension as an add-on, you need to give it a zip
file which ends in .xpi, so let’s make one of those by first installing
7-Zip, and then typing 7z a catgifs.xpi manifest.json. (If you’re
on Mac or Linux, the zip command should be built-in, so just type zip
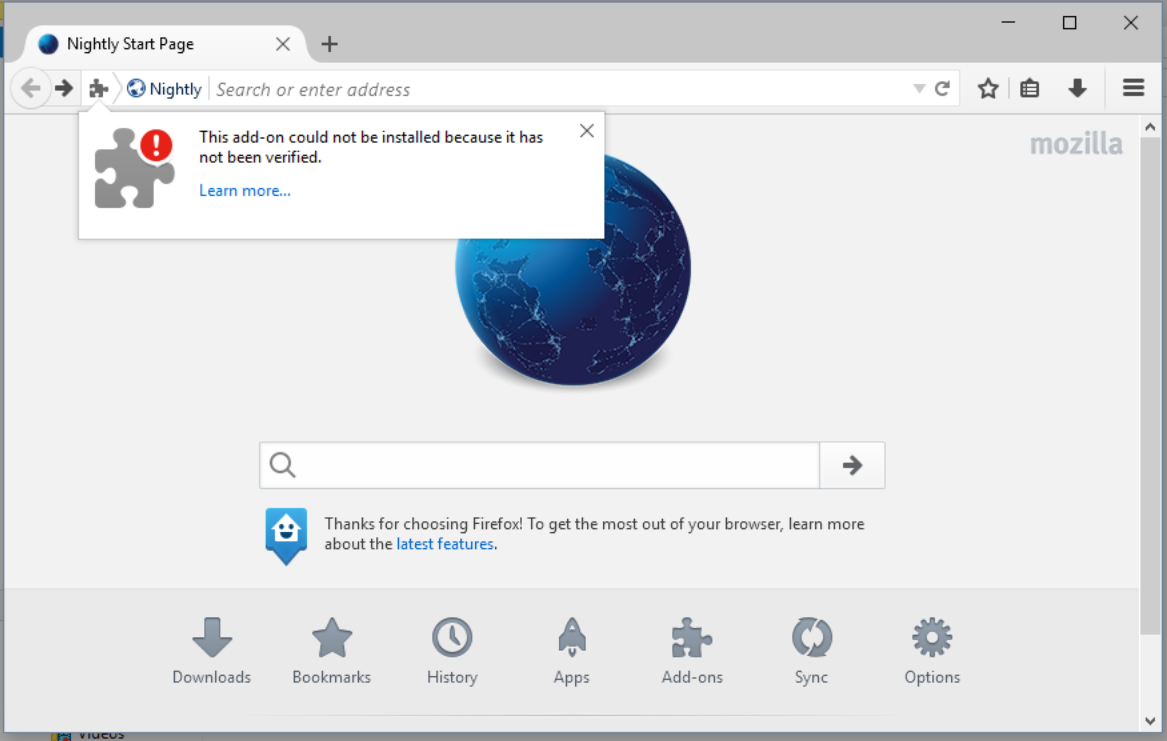
catgifs.xpi manifest.json.) Then you can drag the catgifs.xpi onto Firefox,
and it will show you an error because our extension is unsigned.
We can work around this by going to about:config, typing
xpinstall.signatures.required in the search box, double-clicking the entry to
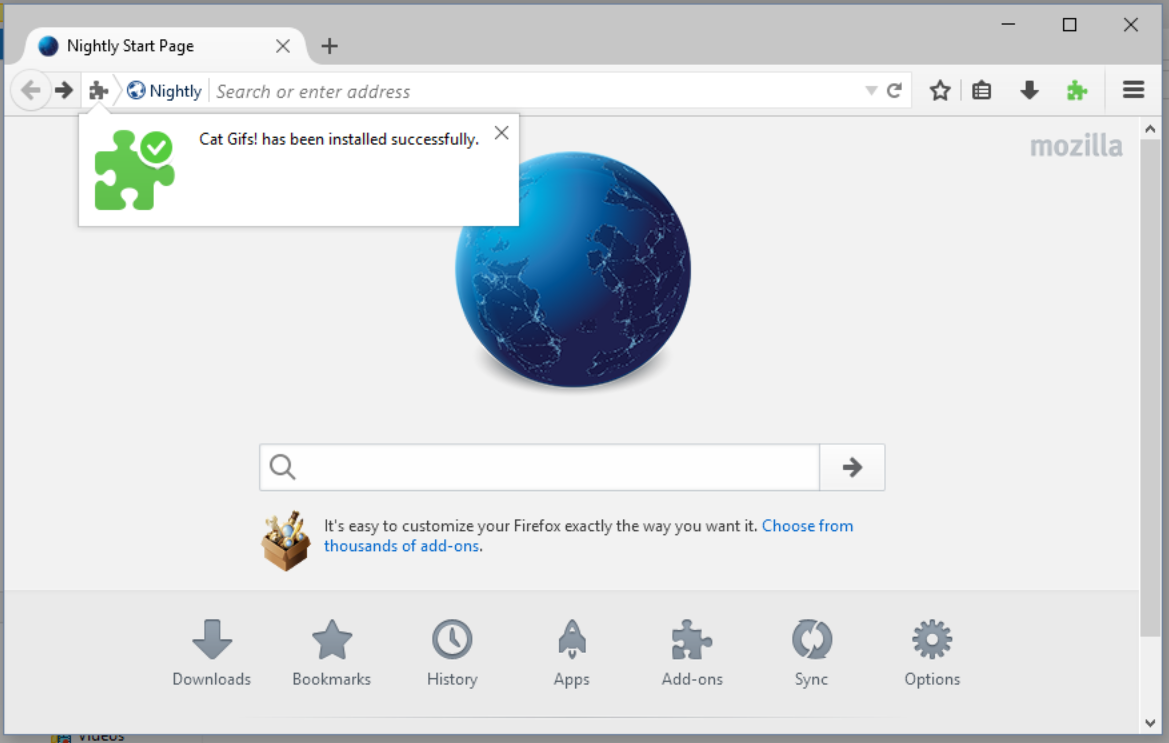
set it to false, and then closing that tab. After that, when we drop
catgifs.xpi onto Firefox, we get the option to install our new add-on!
It’s important to note that as of Firefox 44 (later this year), add-ons will require a signature to be installed on Firefox Beta or Release versions of the brower, so even if you set the preference described above, you will soon still need to be running Firefox Nightly or Developer Edition to follow this tutorial.
Of course, our add-on doesn’t do a whole lot yet.
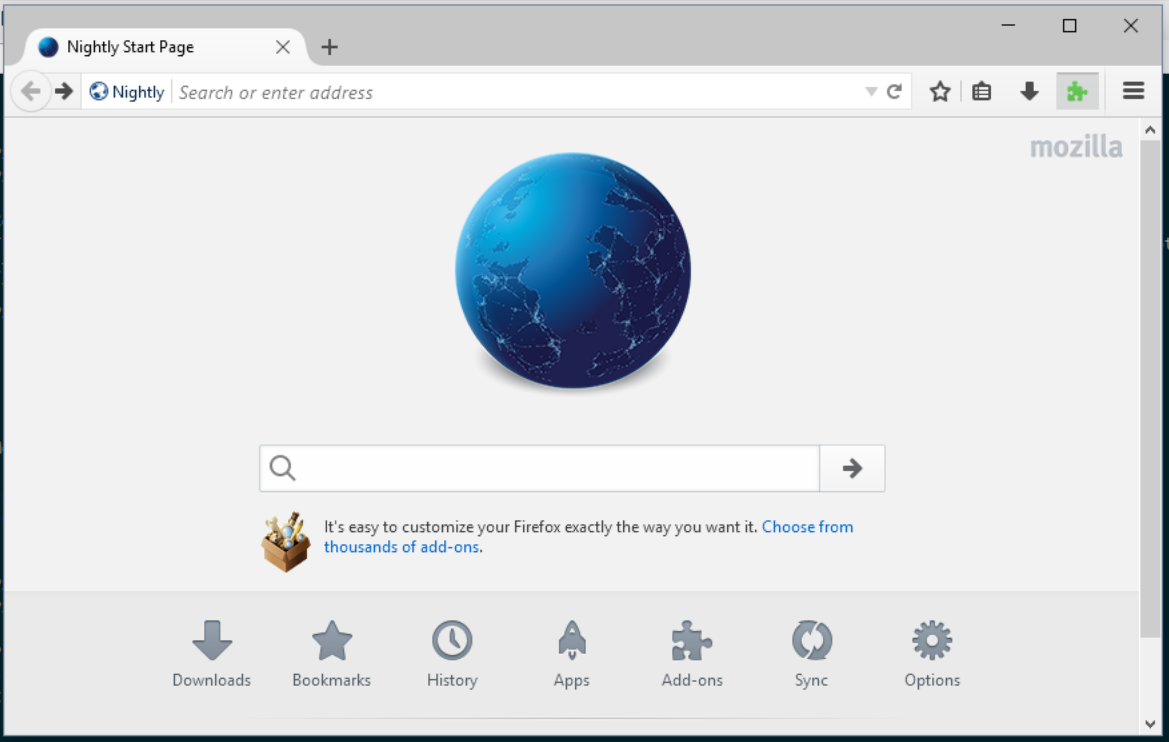
So let’s fix that!
Adding features
First, we’ll add the following lines to manifest.json, above the line
containing browser_action:
  "background": {
    "scripts": ["background.js"],
    "persistent": false
  },
now, of course, that’s pointing at a background.js file that doesn’t exist
yet, so we should create that, too. Let’s paste the following javascript in it:
'use strict';

/*global chrome:false */

chrome.browserAction.setBadgeText({text: '(ツ)'});
chrome.browserAction.setBadgeBackgroundColor({color: '#eae'});

chrome.browserAction.onClicked.addListener(function(aTab) {
  chrome.tabs.create({'url': 'http://chilloutandwatchsomecatgifs.com/', 'active': true});
});
And you should get something that looks like this. Re-create the
add-on by typing 7z a catgifs.xpi manifest.json background.js (or zip
catgifs.xpi manifest.json background.js), and drop catgifs.xpi onto Firefox
again, and now, when we click the button, we should get a new tab! 😄
Automating the build
I don’t know about you, but I ended up typing 7z a catgifs.xpi manifest.json a
disappointing number of times, and wondering why my background.js file wasn’t
running. Since I know where this blog post is ending up, I know we’re going to
be adding a bunch more files, so I think it’s time to add a build script. I
hear that the go-to build tool these days is gulp, so I’ll wait
here while you go install that, and c’mon back when you’re done. (I
needed to install Node, and then gulp twice. I’m not sure why.)
So now that we have gulp installed, we should make a file named gulpfile.js to
tell it how to build our add-on.
'use strict';

var gulp = require('gulp');

var files = ['manifest.json', 'background.js'];
var xpiName = 'catgifs.xpi';

gulp.task('default', function () {
  console.log(files, xpiName)
});
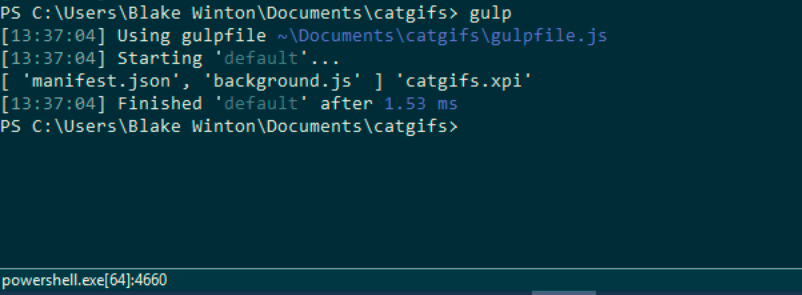
Once you have that file looking something like this, you can type
gulp, and see output that looks something like this
Now, you may notice that we didn’t actually build the add-on. To do that, we
will need to install another package to zip things up. So, type npm install
gulp-zip, and then change the gulpfile.js to contain the following:
'use strict';

var gulp = require('gulp');
var zip = require('gulp-zip');

var files = ['manifest.json', 'background.js'];
var xpiName = 'catgifs.xpi';

gulp.task('default', function () {
  gulp.src(files)
    .pipe(zip(xpiName))
    .pipe(gulp.dest('.'));
});
Once your gulpfile.js looks like this, when we run it, it will
create the catgifs.xpi (as we can tell by looking at the timestamp, or by
deleting it and seeing it get re-created).
Fixing a bug
Now, if you’re like me, you clicked the button a whole bunch of times, to test it out and make sure it’s working, and you might have ended up with a lot of tabs. While this will ensure you remain extra-chill, it would probably be nicer to only have one tab, either creating it, or switching to it if it exists, when we click the button. So let’s go ahead and add that.
The first thing we want to do is see if the tab exists, so let’s edit the
browserAction.onClicked listener in background.js to contain the following:
chrome.browserAction.onClicked.addListener(function(aTab) {
  chrome.tabs.query({'url': 'http://chilloutandwatchsomecatgifs.com/'}, (tabs) => {
    if (tabs.length === 0) {
      // There is no catgif tab!
      chrome.tabs.create({'url': 'http://chilloutandwatchsomecatgifs.com/', 'active': true});
    } else {
      // Do something here…
    }
  });
});
Huh, that’s weird, it’s always creating a new tab, no matter how many catgifs
tabs there are already… It turns out that our add-on doesn’t have permission to
see the urls for existing tabs yet which is why it can’t find them, so let’s go
ahead and add that by inserting the following code above the browser_action:
  "permissions": [
    "tabs"
  ],
and once your code looks similar to this, re-run gulp to rebuild
the add-on, and drag-and-drop to install it, and then when we test it out,
ta-da! Only one catgif tab! Of course, if we’re on another tab it doesn’t do
anything, so let’s fix that. We can change the else block to contain the
following:
      // Do something here…
      chrome.tabs.query({'url': 'http://chilloutandwatchsomecatgifs.com/', 'active': true}, (active) => {
        if (active.length === 0) {
          chrome.tabs.update(tabs[0].id, {'active': true});
        }
      });
make sure it looks like this, rebuild, re-install, and shazam, it works!
Making it look nice
Well, it works, but it’s not really pretty. Let’s do a couple of things to fix that a bit.
First of all, we can add a custom icon so that our add-on doesn’t look like all
the other add-ons that haven’t bothered to set their icons… To do that, we add
the following to manifest.json after the manifest_version line:
  "icons": {
    "48": "icon.png",
    "128": "icon128.png"
  },
And, of course, we’ll need to download a pretty picture for our icon, so let’s
save a copy of this picture as icon.png, and this one
as icon128.png.
We should also have a prettier icon for the button, so going back to the
manifest.json, let’s add the following lines in the browser_action block
before the default_title:
    "default_icon": {
      "19": "button.png",
      "38": "button38.png"
    },
and save this image as button.png, and this image as
button38.png.
Finally, we need to tell our build script about the new files, so change the
files line of our gulpfile.js to:
var files = ['manifest.json', 'background.js', '*.png'];
Re-run the build, and re-install the add-on, and we’re done! 😀

One more thing…
Well, there is another thing we could try to do. I mean, we have an add-on that works beautifully in Firefox, but one of the advantages of the new WebExtension API is that you can run the same add-on (or an add-on with minimal changes) on both Firefox and Chrome. So let’s see what it will take to get this running in both browsers!
We’ll start by launching Chrome, and trying to load the add-on, and see what
errors it gives us. To load our extension, we’ll need to go to
chrome://extensions/, and check the Developer mode checkbox, as shown below:
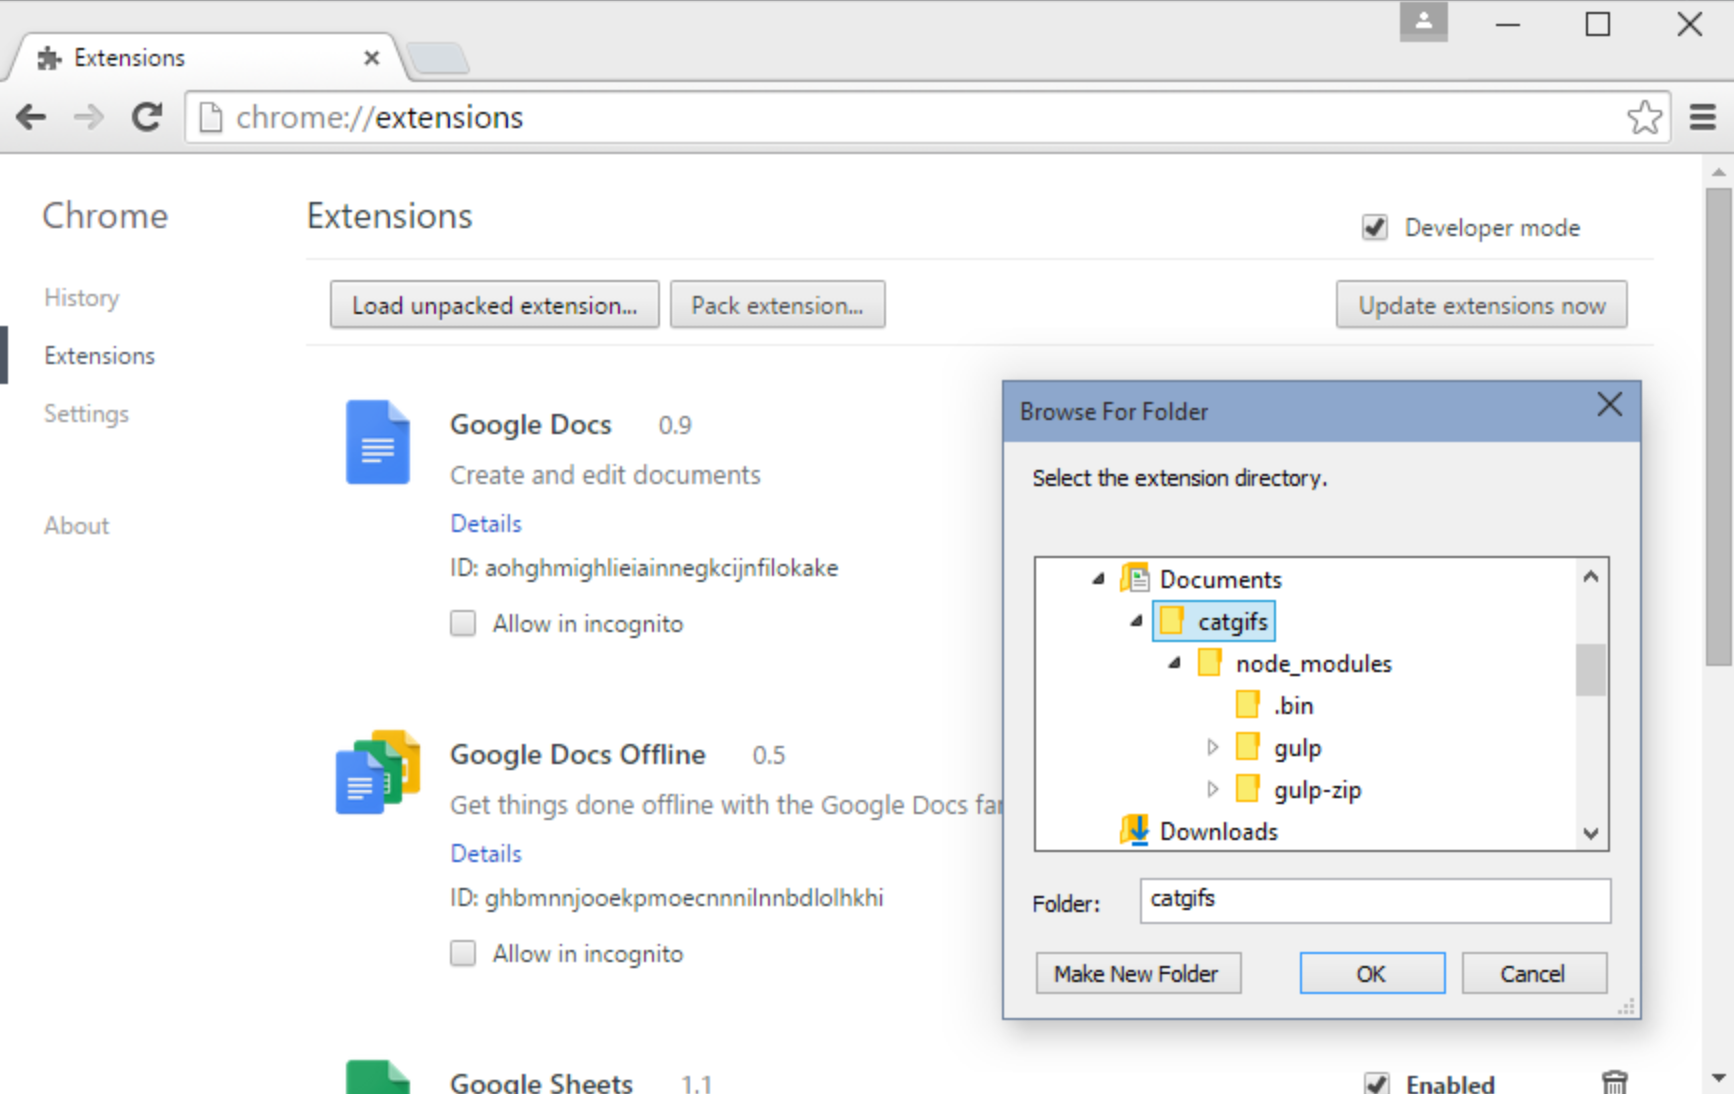
Then we can click the “Load unpacked extension…” button, and choose our directory to load our add-on! Uh-oh, it looks like we’ve got an error.

Since the applications key is required for Firefox, I think we can safely
ignore this error. And anyways, the button shows up! And when we click it…
So, I guess we’re done! (I used to have a section in here about how to load babel.js, because the version of Chrome I was using didn’t support ES6’s arrow functions, but apparently they upgraded their JavaScript engine, and now everything is good. 😉)
Finally, if you have any questions, or run into any problems following this tutorial, please feel free to leave a comment below, or get in touch with me through email or on twitter! If you have issues or constructive feedback developing WebExtensions, the team will be listening on the Discourse forum.